

How To Package In Photoshop
How does press in Photoshop piece of work? And how can y'all gear up your images to create the best possible results when printing photos?
While printing in Photoshop isn't always easy, it does provide a lot of flexibility–and you can utilize information technology to create beautiful prints of all sorts, from canvas prints to fine art paper prints to aluminum prints and other types of photograph prints.
So let's take a look at how you lot can print in Photoshop, including deciding where to impress, preparing your image file, and choosing the all-time print settings.
Press Your Photos in Photoshop
- Should You Print Your Photos in Photoshop?
- Should You Utilize Your Own Printer Or Apply a Lab?
- How to Go Started
- An Edited Image
- Monitor Scale
- Getting Your Printer Profile
- Soft Proofing
- Photoshop Print Settings: A Step-By-Step Guide
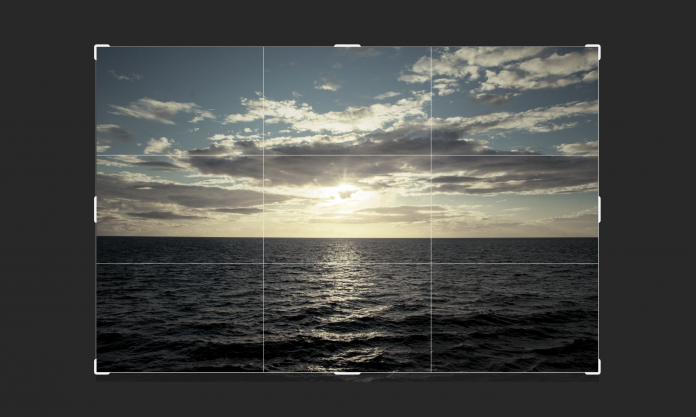
- Footstep 1: Crop Your Paradigm to the Correct Aspect Ratio
- Step 2: Adjust the Image Size to Fit Your Desired Output (And Add together a Border, If Necessary)
- Stride three (For Printing From a Lab): Catechumen to the Proper Contour, And so Export
- Stride 3 (For Press From Dwelling): Select Colour Management Settings in the Impress Window
- The Side by side Step
Should You lot Print Your Photos in Photoshop?
You might be wondering:
Is Photoshop the best software to use for printing? Or are in that location other, better programs (that offer higher-quality results, or an easier printing process, or both)?
When it comes to printing, Photoshop offers a comprehensive gear up of options.
And then you can admittedly create high-quality prints in Photoshop (and many professionals do).
In fact, you tin employ Photoshop to print with custom borders, watermarks, and graphics, which gives yous a lot of flexibility.
On the other hand, every bit with most features in Photoshop, things can get a bit complicated.
Unlike the simple Lightroom printing interface, it tin be tough to print in Photoshop. There'southward a chip of a learning curve, cheers to the lack of a streamlined printing workflow.
And so if y'all're looking for an easy fashion of printing, only 1 that lacks (somewhat) in terms of customization, Lightroom is probably the better route.
And if you're looking for a high level of customization, become with Photoshop.
Note that you tin go high-quality results either way. Both Lightroom and Photoshop are used by professionals. It'due south really all a matter of flexibility.
Should You Employ Your Own Printer Or Use a Lab?
You have two options when printing in Photoshop.
First, you can print to your printer at abode, which can be done directly from Photoshop.
2nd, you lot tin can impress to a lab, which involves exporting your file from Photoshop and sending information technology off for printing.
Which of these options is all-time?
I'd recommend you print using a lab, unless you take a loftier-quality, photo-specific printer.
Nearly printers aren't designed to print beautiful photos. Instead, they're meant for printing text.
Then if you try to produce a print with a consumer printer, you'll end up with all sorts of unwanted colors and tones.
Instead, you should ready your image for printing, then send it off to a lab.
(There are plenty of great press labs, including some that offer free prints.)
On the other hand, if yous do accept a high-quality printer, you tin can oftentimes save in cost and waiting time past printing on your own.
The process can exist a bit more hard–only one time you get the hang of it, you can starting time printing images whenever you desire.
(And if you mess up a print, it's not quite such a large bargain!)
Of course, high-quality printers are expensive, equally is high-quality photo newspaper.
But if you plan to print often, it might be worth it.
How to Become Started
Before you commencement to prepare your image for print, here's what you need:
An Edited Prototype
Before you print an image in Photoshop, you should make sure information technology's completely edited.
This can include adjustments to color, to tones, and to the compositions, besides as adjustments to the scene itself (removing blemishes, cartoon focus away from distractions, etc.).
In one case y'all brainstorm the press process, you won't accept much leeway in terms of making final corrections. So make certain you lot complete any changes right from the start.
And and so prepare for printing.
Monitor Scale
Trying to print without a calibrated monitor is an exercise in frustration.
You lot see, unless your monitor is calibrated, the colors in your print can be wildly different from the colors on your screen.
This isn't as large a deal if you lot take a dwelling house printer, though it volition cause you to waste a lot of newspaper equally you print and reprint in an endeavour to get it right.
But if you lot're printing from a lab and don't have a calibrated monitor, yous'll repeatedly finish up with messed upwards orders, which will crave practise-overs.
In other words:
Calibrate your monitor.
How exercise y'all do this?
One mode is to use a program on the net, and this can work to some extent.
But the most accurate way to calibrate your monitor is to utilise specialized scale technology, which y'all tin buy online.
(Unfortunately, scale applied science is quite expensive, but if you're going to be press ofttimes, it's worth information technology.)
Getting Your Printer Profile
Every printer and newspaper combination prints images differently.
So while one printer will take your image and make it brilliant, another will take information technology and brand it desaturated, and then on.
That's where printer profiles come in handy. They tell your calculator how to properly translate the image on screen to the printer–and so that y'all get a issue as close as possible to what you encounter on the (calibrated) monitor. (This is office of the color management procedure.)
Most manufacturers offer printer-paper profiles for their products, and you tin can download these for free.
You can also have profiles made of your ain equipment, which volition be slightly more accurate (as there's ever going to be a fleck of variation from printer to printer). But you tin can often go away with using the manufacturer's profiles.
Make sure you lot have your printer-paper profiles downloaded before going through any role of the printing process in Photoshop. That way, y'all can convert to the correct profile (as I discuss later on in this article) and get a great consequence.
Soft Proofing
Soft proofing is essential for producing the most consistent, accurate prints in Photoshop.
Information technology'due south a process that allows you to simulate a final impress on your monitor.
Remember how I said that you lot need a printer profile to make sure y'all don't see one matter on your monitor and get something else when you print?
Well, it's a flake more than complicated than that.
Because fifty-fifty with an accurate profile, at that place won't be a perfect translation from screen to impress. Especially because many printers can't handle sure on-screen colors, plus paper can be limiting in ways.
Lesser line:
It'southward useful to soft proof before printing. That way, you tin can come across how your print will look–before really using paper, ink, time, and money for the printing process.
Photoshop Print Settings: A Pace-Past-Footstep Guide
Now permit'southward look at the best settings for printing in Photoshop:
Step 1: Crop Your Paradigm to the Correct Attribute Ratio
Whenever you print, you're going to demand to choose an aspect ratio.
In other words:
Volition you impress at a 3:2 attribute ratio (i.east., a 4×6 or an viii×12)? Or will you impress at a 4:5 aspect ratio (for an eight×10 or a 16×twenty)?
Now, you don't have to cull your precise print size however.
(That's in the side by side step.)
Merely y'all exercise have to decide what aspect ratio yous want to use, which will in turn limit your print sizes.
If you're struggling to decide on an attribute ratio, check out your printer paper; subsequently all, unless you lot're prepared to add strange birds or cut portions of the finished print yourself, you'll demand to output a print that matches the paper.
Step 2: Conform the Image Size to Fit Your Desired Output (And Add a Border, If Necessary)
Once y'all've cropped to the right aspect ratio, it's time to resize your print.
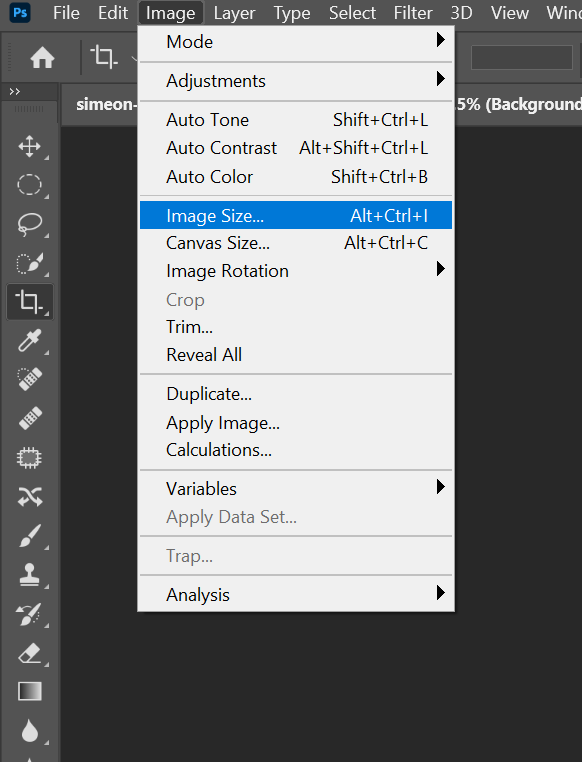
Select Prototype>Image Size:
Make sure you change the units to Inches, then dial in your desired width and height:
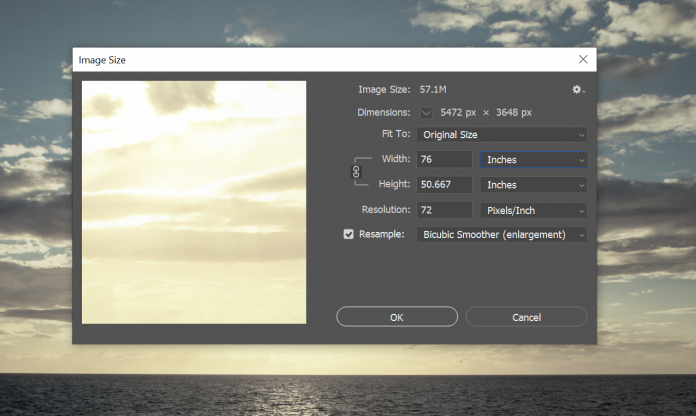
This is where y'all'll need to cull the precise dimensions of your image, which must be aligned with your aspect ratio. If yous're struggling to determine on your image dimensions, I'd recommend taking a look at popular frames and mats (peculiarly if you're planning on framing and matting your image, considering standard sizes are far cheaper to obtain!).
Finally, indicate the resolution yous're after:
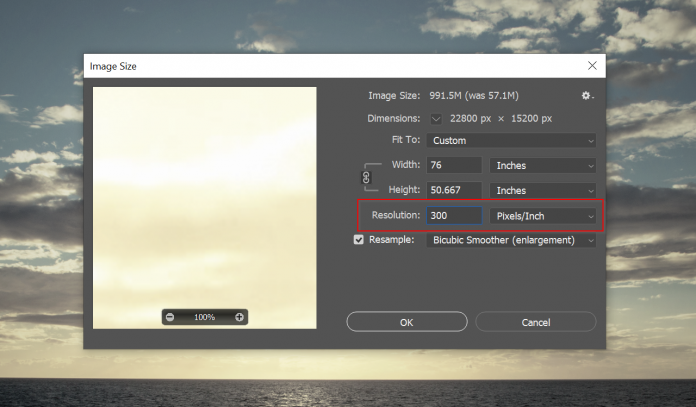
Here, 300 PPI is the standard for high-quality prints, but you lot can also go lower or higher depending on your impress medium and your file resolution.
If you exercise pick a resolution that'due south college than your file can handle, you'll desire to cheque the Resample box to ensure that you go the best-possible print quality.
Then hit OK.
Annotation that, if you desire to add borders to your print, yous'll demand to use the Canvas Size option, every bit well:
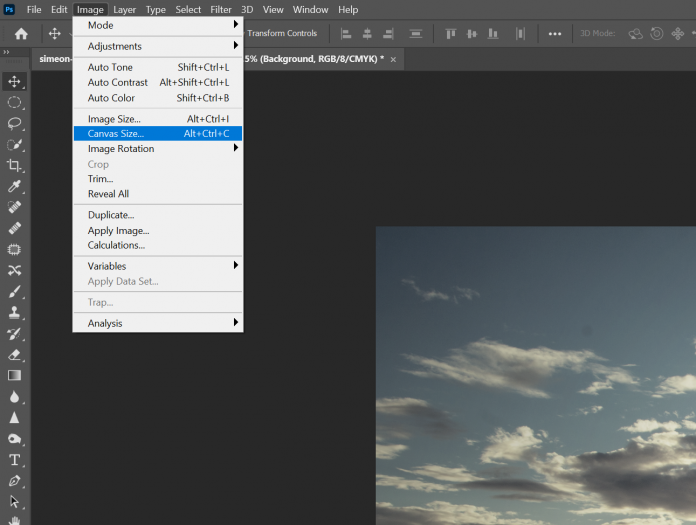
And indicate the border yous want:
Step iii (For Printing From a Lab): Convert to the Proper Profile, Then Consign
If you're press from a lab, then hither are your concluding instructions:
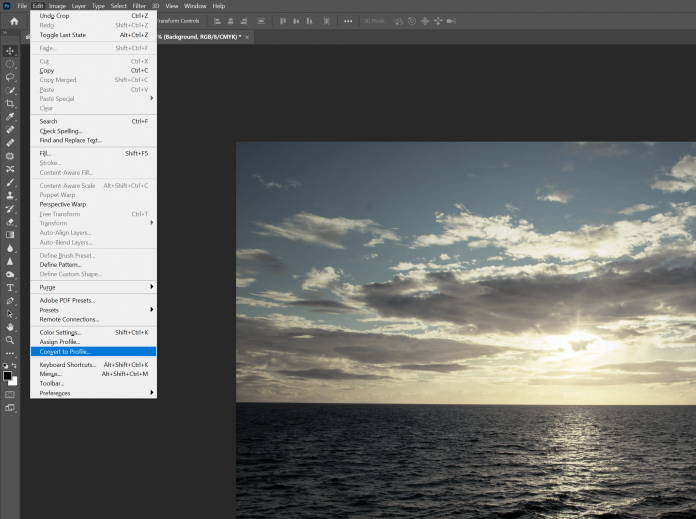
First, head to Edit>Catechumen to Profile:
Then pick the profile that your printing lab has provided you with:
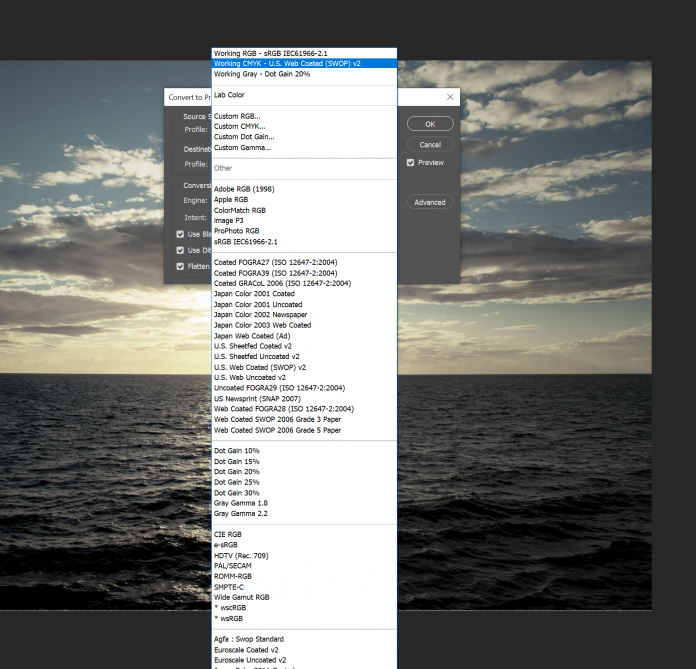
You should meet your image alter to reflect this conversion.
Then go ahead and export your shot!
Simply select FIle>Relieve Every bit and choose TIFF from the dropdown:
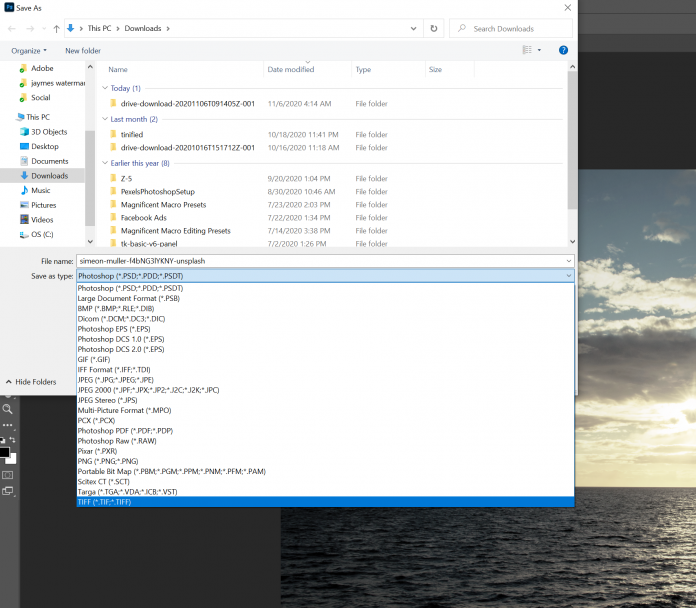
And hit Save.
Now you should be able to copy the file from its location and transport it to your printing lab.
Step 3 (For Printing From Dwelling): Select Color Direction Settings in the Impress Window
If you're working with your own printer, once y'all've resized your paradigm, you lot'll desire to select File>Print:
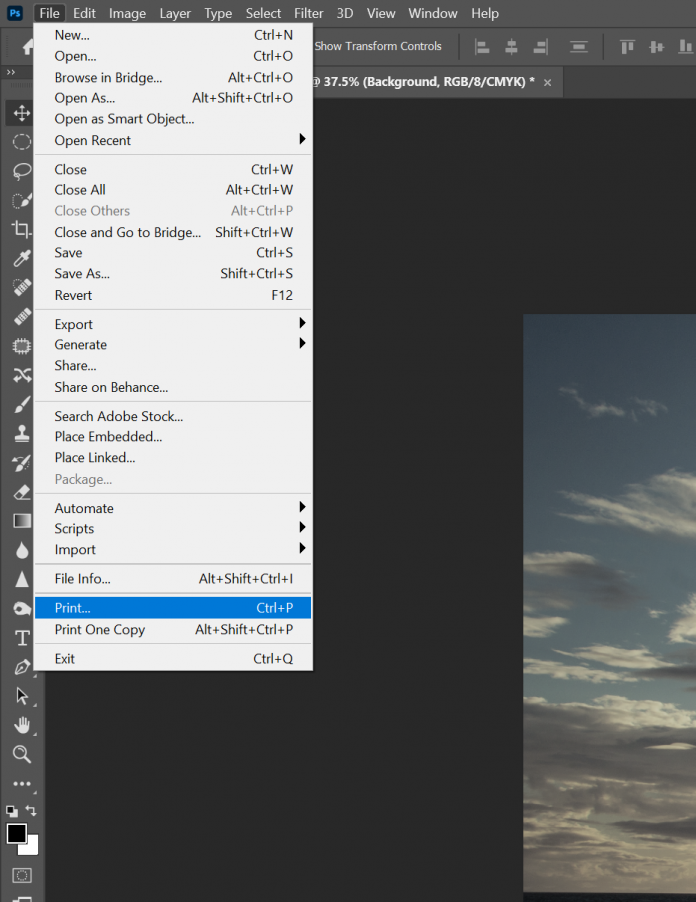
And option your printer:
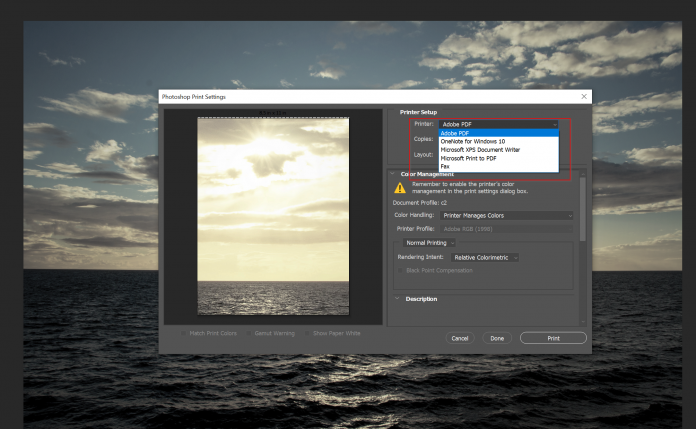
Then you'll have a choice to make. Do y'all want your computer to handle colour direction, or do you want your printer to handle colour management?
Either ane can work, so I'd recommend testing out your computer's ability to handle the color management outset; if that fails, then y'all can switch over to your printer.
So, betoken that yous want Photoshop to handle color direction.
Then select your Printer Profile:

Select your Rendering Intent, which tells your printer what to do if it's unable to handle whatever of the colors y'all ship it (i.e., if the colors are out of gamut).
I'd recommend using Perceptual, simply you tin can experiment with unlike options if y'all similar.
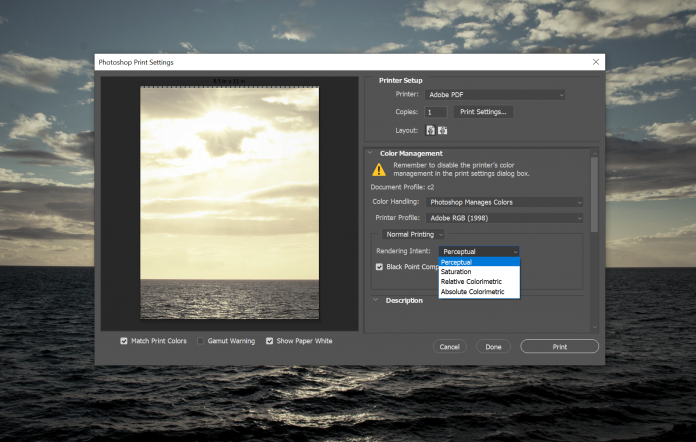
You tin experiment with turning Black Indicate Compensation on and off (which will deal with the darkest tones in your image):
And before printing, I'd recommend taking i last wait at your print preview, making sure that Lucifer Print Colors is checked.
And that'due south it! Become ahead and tap Print, and spotter every bit you produce a beautiful final product!
The Next Footstep
Now that you've finished this article, you should be able to confidently print from Photoshop–either to a lab, or to a printer of your own.
And then go ahead and make some prints! Later on all, printing can be hugely rewarding, especially if you've never done it before.
Can you lot print from Photoshop?
Aye! You tin print somewhat easily from Photoshop (though not equally easily as you can impress in Lightroom!). You merely have to follow the instructions I've given in this article. Photoshop allows you to practice everything you lot demand for beautiful prints, including color management, resizing, and soft proofing. With Photoshop, you can create stunning prints in no time at all! Also conduct in mind that you tin utilize Photoshop to print to your home printer, or you can use it to generate files that will and so be shipped off to a printing lab.
Is it a good idea to print from Photoshop?
Certain! Photoshop is a nifty fashion to print your photos. Information technology has everything you need: colour management tools, paradigm resizing tools, and a print button! In that location are dedicated printing alternatives for very serious photographers, and there are also easier alternatives for less serious photographers, but Photoshop does allow for a lot of flexibility without overwhelming yous with a million options.
Should I use Photoshop or Lightroom for printing?
Both Photoshop and Lightroom allow you to produce high-quality prints. Lightroom is more streamlined and easier to utilize, but Photoshop allows for greater flexibility, particularly if you're looking to add interesting borders or graphics to your images. If yous demand complete control, then go with Photoshop, but if you're looking for a quick and like shooting fish in a barrel method of creating high-quality prints, then Lightroom is probably the meliorate option.
Can I do color management for printing in Photoshop?
Absolutely, you can practise color management in Photoshop. In fact, Photoshop offers quite a few color direction options–you can soft proof, apply different colour profiles, and more.
Can I acuminate for press in Photoshop?
Yes, y'all can sharpen for printing in Photoshop. Y'all tin can do this a few different ways, only a common method is to utilise Unsharp Mask, which will allow you to get your image details looking nice and well-baked. Another option is to utilize a Loftier Pass filter, which will also allow you to get a great result for printing; really, the method you use is up to you!
Source: https://www.photoworkout.com/printing-in-photoshop/
Posted by: laneprouvide.blogspot.com
0 Response to "How To Package In Photoshop"
Post a Comment